Whether you’re a homeowner maintaining your investment or a cleaning professional looking to refine your methods, this guide covers everything you need to know about cleaning tinted and specialty windows safely, effectively, and scratch-free.
Why Tinted and Specialty Windows Require Extra Care
Tinted windows are made with a thin film applied to the glass surface or embedded between layers of glass. This film can be sensitive to certain chemicals, abrasives, and even harsh scrubbing tools. Scratches or peeling can compromise not only the look of the window but also its UV protection and insulation benefits.
Specialty windows like etched glass, stained glass, low-E (low emissivity) coatings, or frosted glass often have textured or treated surfaces that need special attention. Using standard glass cleaners or rough cloths can dull their finish or remove delicate coatings.
In short, these windows look great and perform well, but only when maintained properly. Let’s dive into how to keep them spotless and safe.
Step-by-Step Guide to Cleaning Tinted or Specialty Windows
Step 1: Gather the Right Supplies
Before you start, make sure you’re using materials that are safe for tinted or coated glass. Here’s what you’ll need:
Recommended Cleaning Tools:
- A soft microfiber cloth or lint-free towel
- A rubber squeegee with a soft edge
- A spray bottle (for your cleaning solution)
- A bucket of clean water
Safe Cleaning Solutions:
- A mixture of mild dish soap and water (about one teaspoon per quart of water)
- Or a vinegar and water solution (1 part white vinegar to 4 parts water)
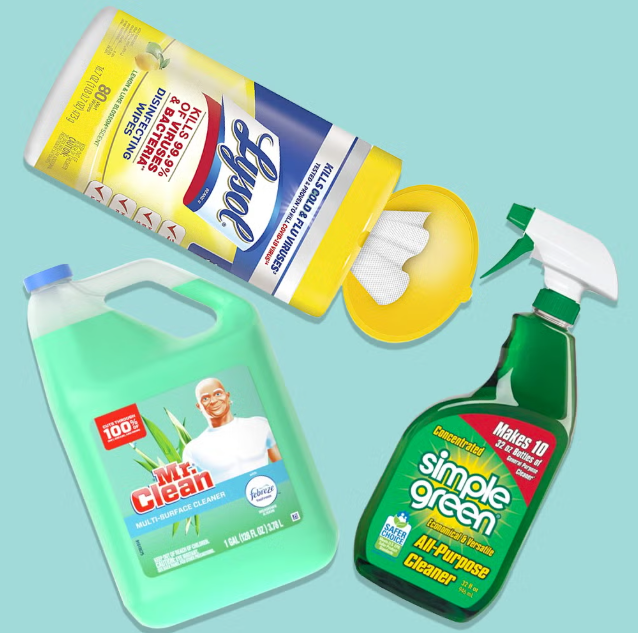
- Or a commercial window cleaner labeled “safe for tinted windows”
Avoid:
- Ammonia-based cleaners (like Windex)
- Alcohol-based cleaners
- Abrasive pads or brushes
- Paper towels (they can leave lint and micro-scratches)
Step 2: Remove Dust and Debris First
Before applying any liquid cleaner, gently wipe away surface dust, dirt, and debris. This step is crucial tiny particles can act like sandpaper when rubbed, leaving fine scratches on your tint or coating.
Use a dry microfiber cloth or a soft duster to lift away dust. For exterior windows, you may also use a soft hose rinse to remove loose dirt before starting your detailed cleaning.
Step 3: Apply Your Cleaning Solution Gently
Once the surface is free of grit, lightly mist your cleaning solution onto the glass. Avoid spraying directly on edges or seams where tint film meets the frame this prevents moisture from seeping behind the tint and causing bubbles or peeling.
If you’re cleaning frosted or etched glass, apply the solution evenly to avoid streaking. For stained glass, test a small, inconspicuous area first to make sure the cleaner doesn’t damage any lead or painted details.
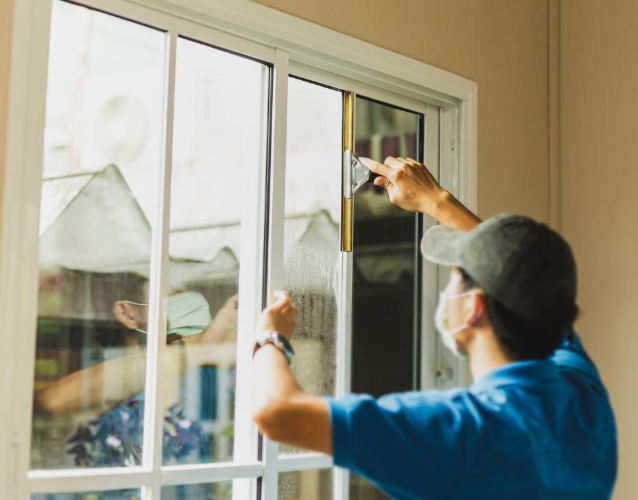
Step 4: Wipe Using the Right Motion
With a clean, soft microfiber cloth, gently wipe the surface using circular motions or slow, straight strokes. Avoid pressing too hard pressure isn’t needed to remove normal grime and can stress the tint film or coating.
If using a squeegee:
- Start at the top of the window.
- Pull down in smooth, overlapping strokes.
- Wipe the squeegee blade clean after each pass with a dry cloth.
This technique minimizes streaks and avoids dragging dirt across the surface.
Step 5: Dry and Polish Carefully
Use a separate dry microfiber cloth to buff away any remaining moisture or streaks. Work from top to bottom and avoid reusing damp or dirty cloths that can redeposit residue.
For tinted windows, gentle circular polishing motions help restore a clear, streak-free shine without scratching the surface.
Common Mistakes to Avoid
Even well-intentioned cleaning can lead to costly damage. Here are a few common mistakes to steer clear of:
1. Using Ammonia or Harsh Chemicals
Ammonia-based cleaners can cause tinted film to discolor, bubble, or peel over time. Stick with mild soaps or vinegar-based mixtures instead.
2. Scrubbing Too Hard
Tinted and specialty glass coatings can scratch easily. If a spot is stubborn, soak it with cleaner for a minute instead of scrubbing.
3. Cleaning in Direct Sunlight
Sunlight can dry your cleaner too quickly, leaving streaks and residue. Clean windows on a cool, cloudy day or in shaded conditions.
4. Ignoring the Frames
Window frames collect dust, pollen, and debris that can blow back onto clean glass. Wipe frames first with a damp cloth before starting on the glass.
5. Using Dirty Tools
Always wash or replace microfiber cloths regularly. A dirty cloth can grind grit into your tint, leaving micro-scratches.
Special Care Tips for Different Window Types
Not all specialty windows are created equal. Here’s how to handle some of the most common varieties:
Tinted Windows
- Avoid ammonia and alcohol-based products.
- Use soft microfiber cloth only.
- Don’t use razor blades or scrapers for stuck-on grime; use a damp cloth and mild soap instead.
Frosted or Etched Glass
- Clean in circular motions to reach texture grooves.
- A soft-bristle brush can help dislodge dirt from etched designs.
- Avoid wax-based polishes they can build up in textured areas.
Low-E (Low Emissivity) Windows
- Clean only the interior side of the glass; exterior coatings are often sealed between panes.
- Avoid abrasive tools or cleaners, as coatings are extremely delicate.
- Check manufacturer guidelines, some recommend only water and microfiber cleaning.
Stained or Decorative Glass
- Avoid vinegar or acid-based cleaners that can affect lead came or solder.
- Use distilled water and mild soap only.
- Dry immediately to prevent water spots and corrosion.
Professional Tips for a Streak-Free Finish
Even when using the right materials, achieving a perfect, streak-free result can be tricky. Try these pro tricks:
- Buff with newspaper (optional): Old-fashioned but effective just make sure it’s non-colored ink.
- Use distilled water: Especially useful in hard water areas to prevent mineral spots.
- Work in sections: Focus on small panels at a time for better control.
- Wipe vertically indoors, horizontally outdoors: This helps identify which side a streak is on.
How Often Should You Clean Tinted or Specialty Windows?
For most homes, cleaning tinted or specialty windows every three to four months keeps them looking their best. However, if you live near a busy street, ocean, or dusty environment, you may need to clean them more often, perhaps once a month.
Commercial buildings or storefronts with tinted glass often require monthly cleaning schedules to maintain a professional appearance.
When to Call a Professional Window Cleaner
If your tinted or specialty windows are high up, heavily soiled, or showing signs of damage, it’s best to call a professional. Experts have the right tools, ladders, and tint-safe products to handle the job safely and efficiently.

Professional cleaning can also extend the lifespan of your tint by preventing scratches, bubbling, or discoloration caused by improper DIY methods.
Final Shine
Cleaning tinted or specialty windows doesn’t have to be intimidating, it just requires the right approach. The key is gentleness and prevention: gentle tools, gentle solutions, and gentle technique. Avoid harsh chemicals, stay away from abrasive cloths, and never rush the process.
With the right care, your tinted and specialty windows will stay crystal-clear, scratch-free, and beautiful for years to come preserving your privacy, enhancing your property’s curb appeal, and keeping your energy bills in check.